Article
Urban gardening in times of crisis – a practical guide for growing food at home
In the past weeks, the preventive measures for the spread of coronavirus have changed the habits of all citizens, in Europe and worldwide. Following the announcement of the closure of work activities and the arrival of the first restrictive measures, thousands of people rushed to supermarkets to stock up on primary and durable goods, from toilet paper to canned potatoes and vegetables.
After a month, in Amsterdam, it is still difficult to find vegetables and fresh fruit in supermarkets, especially at particular times of the week. The need to comply with the rules of social distancing and the drastic reduction of movements outside of one’s home has led citizens to seek relief in private open spaces, such as gardens, roofs and terraces. It is precisely in these places that the practice of growing herbs and vegetables for family consumption began to spread, driven by necessity and curiosity. Urban gardening it is!
During the World Wars and in the post-war period, the practice of War and Victory Gardens was widespread, gardens created in the urban context for the purpose of producing food during times of crisis, both in the United States and in Europe. Every green space inside the city, such as flower beds, gardens, squares and terraces, was used to grow wheat and vegetables. In this way, it met the needs of the cities themselves and limited the transport of raw materials from the surrounding countryside, often damaged by bombing. Citizens and soldiers joined forces in an activity that contributed to their livelihood but was also considered positive to improve morale.
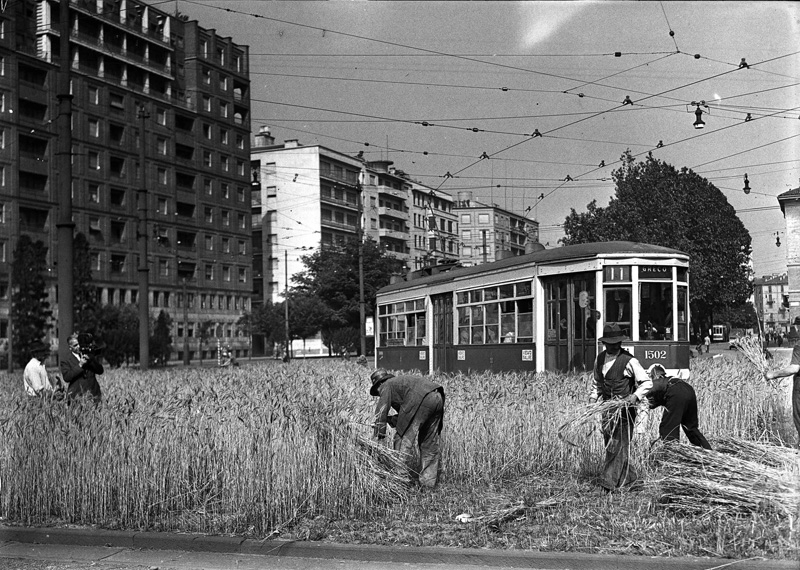
A War Garden in Milan, during World War II.
Subsequently, starting in the 1950s, during the economic boom, urban gardening practices were almost completely abandoned in major European and American cities, converting green areas to areas of relaxation and aesthetic decoration.
The term Victory Garden, nowadays, can still remind of war times, but it became a very relevant concept. Especially in the US, there has been an increase in the purchase of gardening material and views of tutorials on YouTube on how to set up a vegetable garden in your garden or balcony have received millions of views. It would appear people want to go back to those practices, both to integrate home-grown food with their groceries and to experience a new activity.
That is why, here, we have selected some simple practices, which in addition to taking the time during the period of quarantine and social distancing, can help complement your diet, limiting the need to plunder the supermarkets.
Urban Gardening: getting your hands dirty!
You can get seeds from garden shops and most supermarkets, but you can also collect them directly from the fruits and vegetables you have at home, like tomatoes, bell peppers and strawberries, to name a few. Remember to let the seeds dry very well for a couple of days before putting them in the soil.
You can easily start your seedlings with a couple of materials you can find in your own home. This DIY kit is good to make any kind of seed germinate, from vegetables to fruits and herbs; what changes is the amount of time before transferring the seedlings into a bigger pot.
Materials you will need:
- seeds
- eggs carton (old)
- potting soil
- coffee grounds
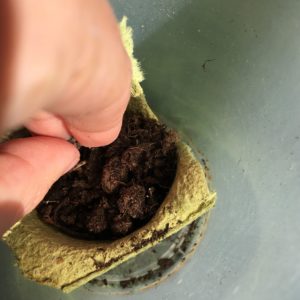
- Mix the potting soil with coffee grounds. Fill a bowl with equal parts of soil and coffee grounds. There are different types of soils in the market which claim to be better for different types of plants. What changes is the added nutrients that can boost the growth of your plants, but any type of soil will do in this stage. The coffee grounds will provide nitrogen, potassium, and phosphorus to the soil, and will help to keep it moist. If you don’t drink coffee ask your neighbour!
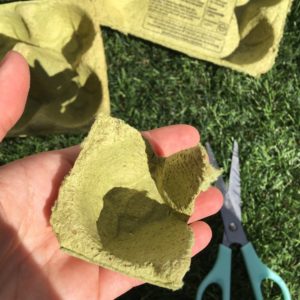
2. Cut the eggs carton into single cups. Take your carton and cut each of the cups apart, to have 6 (or more!) small cups.
3. Fill your single cups till half of their height with the mixture of soil and coffee. Each seed needs to be planted at a different height, check that on the seeds package or make a quick search on Internet based on what you are planning to grow.

4. Add the seed. Make sure you add at least 2 seeds per cup, to make sure that something will grow. Be careful not to overcrowd the cup with too many seeds; take into account the possibility that they could all be successful! Keep the number to 1–2 seeds for vegetables and 3–4 seeds for herbs.
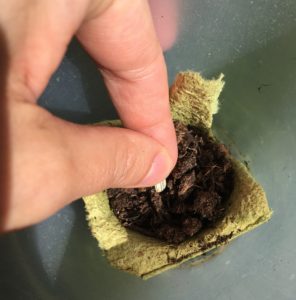
5. Cover the seeds with a thin layer of soil/coffee mixture. Keep the depth recommended for your seed types in mind.
6. Place the seeds cups in a waterproof container. You can reuse any plastic container from your groceries, but make sure there are no holes on the bottom, as water will be involved.
7. Water your seeds cups. Since the cups are in a waterproof container, you can pour water directly into the container, rather than over the single seed cups. The paper of the cups will soak up the water, keeping your seeds moist.

8. Place the cups in the sun. All plants need sunlight to sprout and grow. Be sure that your seed cups are in a place where they can get enough sun, like a window sill.
9. Keep it moist! Water your cups regularly (but make sure that the water gets absorbed by the soil and doesn’t stay there, otherwise it will create mold) and watch your seeds sprout and grow!
10. Transplanting!
If some seedlings’ roots grow out of the egg cups before they’re ready to be planted outside, you can simply transfer your seedlings in a larger flower pot or some other kind of container; take your egg cup and transfer it as it is in a pot filled with extra soil. If you use a disposable paper cup as a container, it can be transferred directly in the soil, as it will dissolve naturally. Same for the egg cups, they will help keep the roots moist and will break down into compost eventually.
You can grow your plants in flower pots or almost any kind of container that you may have at your home. Think of glass jars, coffee and tea canisters and so on. Depending on the need for water of the plants you have, you will need to get holes on the bottom of your container to avoid rotting and mould. If you can’t make holes on the container, add small stones as a bottom layer and then cover it with the soil. The excess water will flow down between the stones and be sucked up back by the roots when needed.
Make use of your outdoor space!
If you have a backyard, a terrace or even a rooftop, you may want to go big!
The easiest way to start a vegetable garden in a small space is by building raised garden beds. They are different sizes of containers filled with soil where you can plant and grow vegetables, instead of planting them directly in the soil. This helps to make sure that the soil is the right one for the purpose and prevents all the challenges of trying to grow something in a sandy, clay-like or hard-packed soil. On terraces and rooftops, it creates a green space where it wouldn’t normally be.
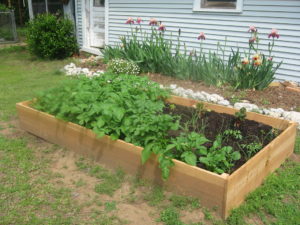
Raised garden bed.
Raised garden beds can have different heights, depending on the types of plant you want to grow, the location (the higher, the heaviest!) and the ease of use (it’s easier to take care of a high bed, as they don’t have to bend to reach the soil). The minimum height should always be 15 cm. The higher location makes the sun exposure last longer, prolonging the growing season and making the roots stronger, as they have to extend deeper to reach the water.
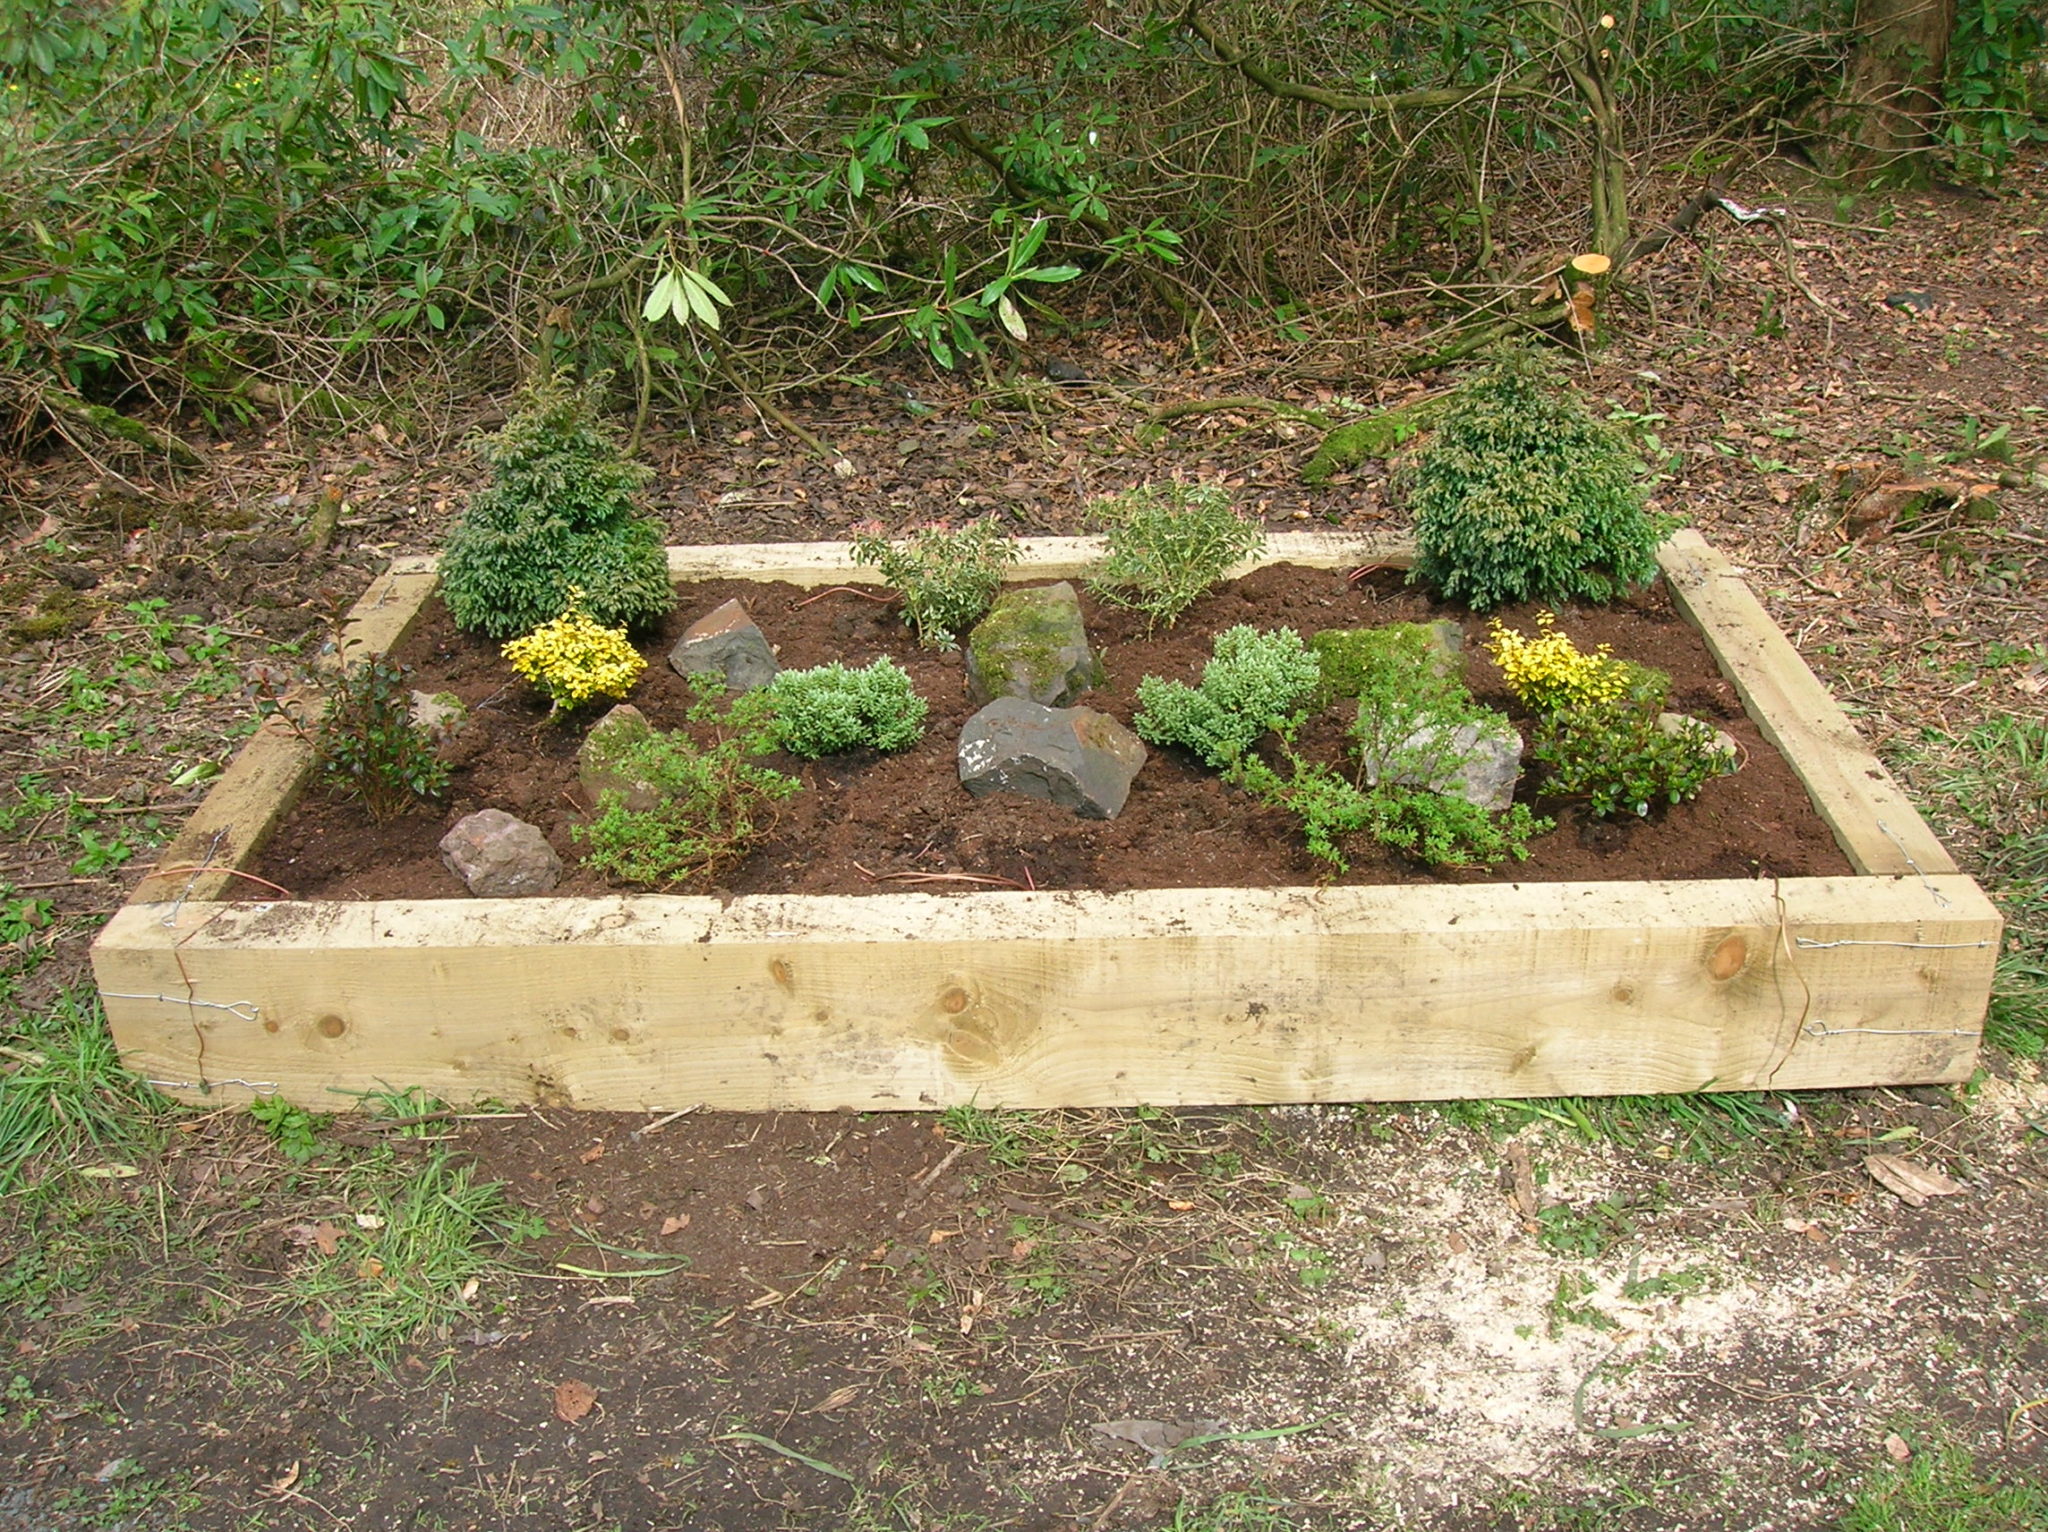
Example of a raised bed used for flowers and herbs.
Materials you will need for urban gardening:
· 4 wooden boards, size of your choice (you can make a square or rectangular bed, according to the space you have and the height you choose)
· Nails
· A hammer
· Old newspapers or cardboards
· Soil to fill the frame
- Place the wooden plank horizontally, with their inner corners touching, to define the dimension of your final raised bed.
- Raise two planks and use the hammer to insert nails in the edge, forming a 90 degrees corner between the two planks. Do the same for the four corners.
- Cover the bottom of your bed with newspapers and cardboard and wet it properly.
- Fill the bed with soil within a few centimetres from the top, the weight of the soil will hold the frame in place.
- If you are building the bed on a rooftop or terrace, make sure you are aware of how much weight they can handle and cover the bottom with waterproof material, to protect the paving
- You are ready to transplant some vegetables!
In a garden, you can use different materials to build your raised beds, like wood, rocks, bricks and even glass bottles or whatever material can be recycled to hold your soil!
We hope to have inspired you to some green activities that can help you make this social distancing time more productive, fun and inspiring. The benefits of growing plants are endless, the joy to see the seeds sprout and the satisfaction of eating something you’ve grown is priceless.
Try and be open to failing with urban gardening, every plant and every location has its challenges but nature is able to adapt to any situation so success will come. Hopefully, this experiment will engage you in urban gardening even after this period of crisis.
If you apply these tips, share with us your urban gardening results, to inspire more urban gardeners and get tips on how to improve it!
Also take a look at: Smart Grow Kit II